The home of smart buildings, smart equipment and IoT

There are a few different ways one can navigate between graphics in a FIN Stack project. One of the most common and easiest ways is by using Relative Bubbles, or the Navigation menu.
Another method is to create Hyperlinks that will instantly jump between one graphic to another. Hyperlinks can made using 2 different methods. One method is by using code. The easiest method (which is what we will be discussing in this article) is by utilizing a tool called "Add Hyperlinks".
The Add Hyperlinks tool can be found in the Graphics Builder's (right) edit menu. When the tool is first opened, it asks you to choose between a list of different application types & options. In this case you would select "Graphics" since we will be creating a hyperlink to another graphic.
The next option will allow you to customize and select what type of graphic hyperlink you will be creating. You can name your button and then choose between a button or an icon as the representative for you hyperlink. Next you can choose between making a specific hyperlink (goes to one specific graphic & equipment) or between a relative hyperlink (hyperlink destination is based on the context and its 'refs'). If you made a specific hyperlink, you must then choose and exact graphic & equipment that you want to load. If you chose to make a relative hyperlink, it will then look at the available refs on your context and allow for you to choose between them.
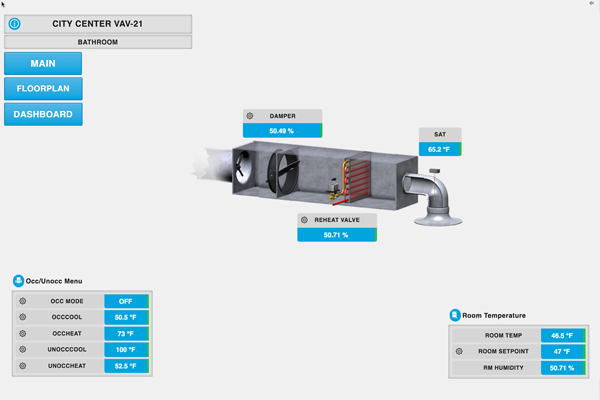
Say for example you are creating a hyperlink button on a VAV graphic that is also relative to multiple equipment across different floors & sites. It wouldn't make sense to hardcode your hyperlink to a certain floor, such as Floor-1, because that wouldn't work for a VAV equipment on Floor-2. So the best solution is to make a 'relative' hyperlink. This way, the hyperlink will look at your context equipment and find it's 'floorRef'. If the floorRef points to a floor with a graphic on it, then it will load that graphic, and since its based on the ref, it will always load the floor that the context equipment is referencing in the database.
Once you've finished customizing and selecting your hyperlink's type & destination, the tool will generate a button (or an icon) for you to position and use in your graphic and you're done! So in conclusion all you really need to do is select the hyperlink type (button/icon)(specific/relative) and then select from a list of available graphics or refs and you're done!
Quick & Easy to Use: Create multiple hyperlinks all at once. Select from a list of available graphics & equip or a list of available refs. Tool auto-generates a button or icon of your choosing.
Graphical Navigation: Create hyperlinks to jump back-and-forth between your graphics without ever leaving the graphic view.
Relative Navigation Create hyperlinks that will dynamically work on relative graphics by relatively jump to the correct destination based on the context's 'ref' tags.
Subscribe:
Want to see more videos? Subscribe to our FIN Weekly Mailing List or to our FIN Stack Youtube Channel.
Chris has been with J2 Innovations for over 8 years and is an active part of the J2 Innovations Technical Support Team. Along with providing technical support, Chris also creates How-To-Videos, helps with licensing and orders, and provides a variety of professional services. Having hands-on experience with customer needs and the software itself has greatly contributed to the making of our J2 Innovations How-To-Videos.
Topics from this blog: FINtastic Tips
Back to all posts
J2 Innovations Headquarters, 535 Anton Blvd, Suite 1200, Costa Mesa, CA 92626, USA. Tel: 909-217-7040